
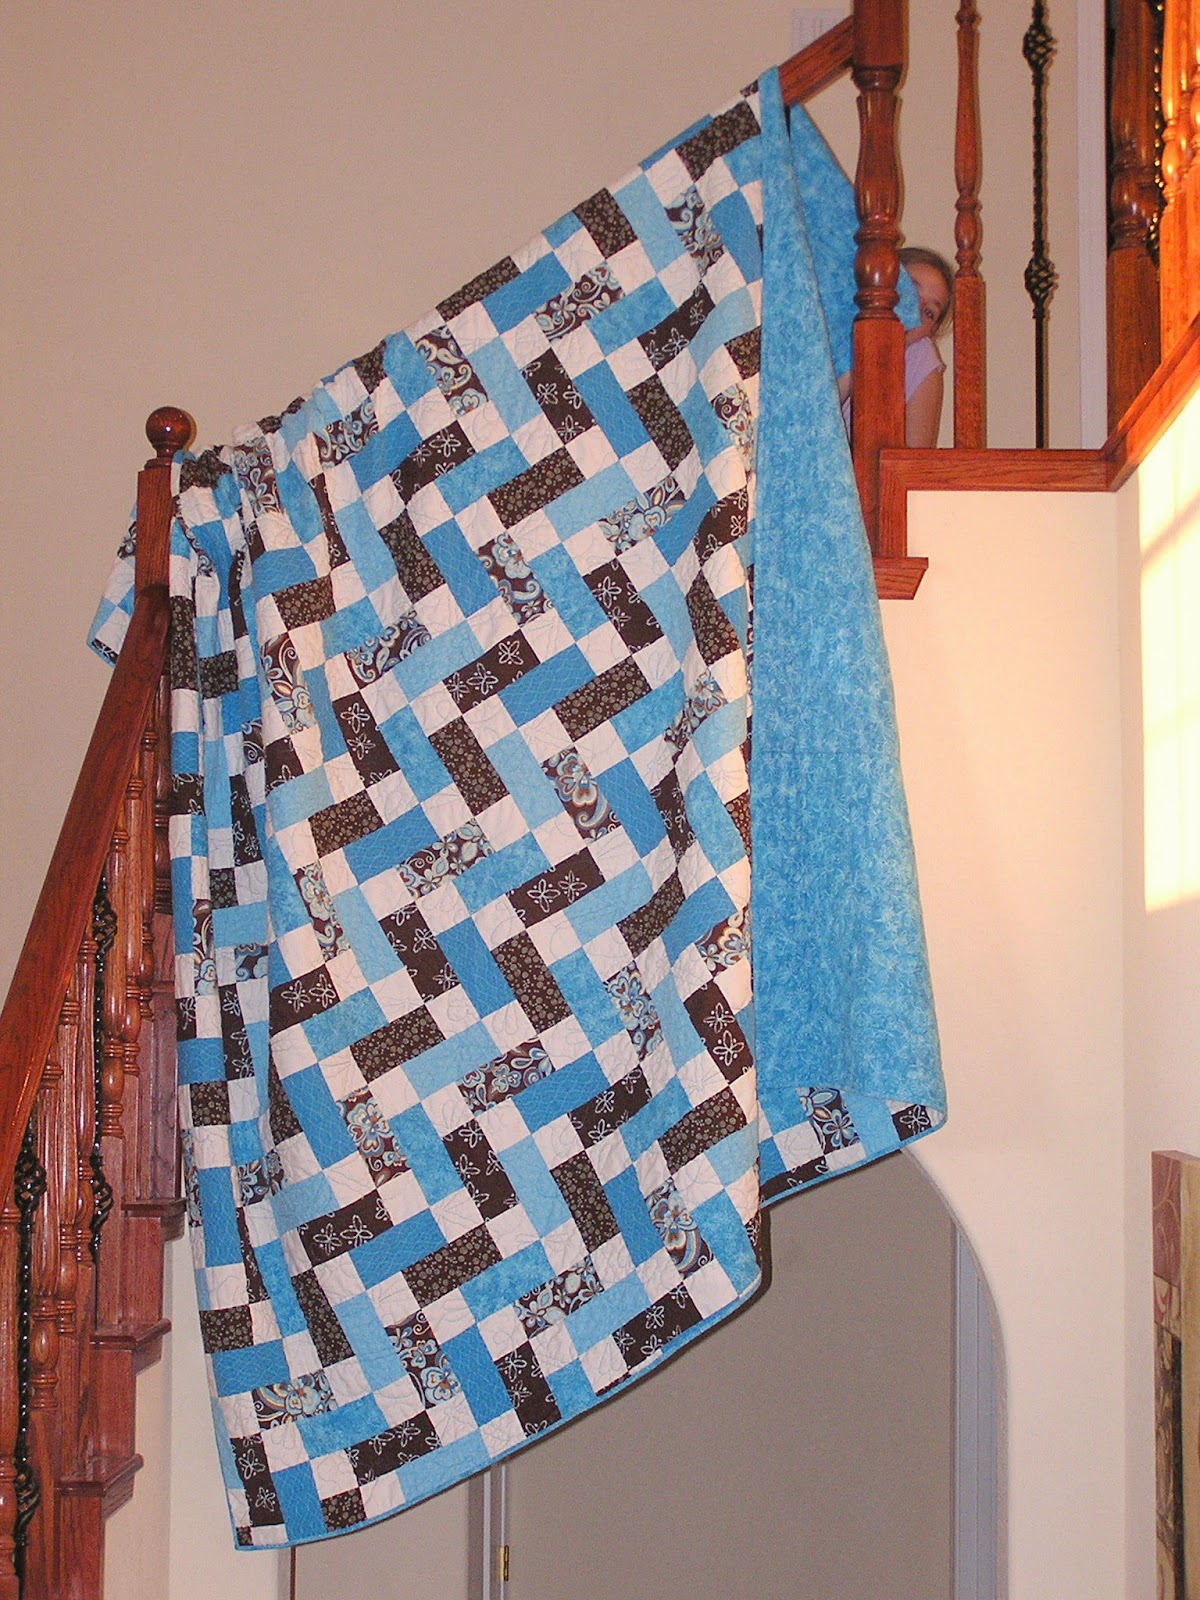
Yep, you read that right. You can actually make a quilt bigger. Even one that has been used for the last 3 years. Even a small king size quilt that has been on my bed. I made this quilt 6 months after I started quilting. And I didn't know much about quilting at that time. Here is my quilt:
And here it is on my bed. You can see it is way too short! It was bigger when I made it, lol. But now, after a few years of learning all about quilting, we know that quilts shrink about 5% when you wash them. But nobody told me that back then, and I didn't check on the internet for how big to make my quilt. I just laid it on my bed and when it was big enough I stopped. So because it was too short and the fact that my husband tends to pull all the covers to his side, I needed to make it bigger.

I spent a lot of time looking at the different ways to quilt as you go, but none of them were really what I wanted. You can add borders as a QAYG but it leave a border in the border, like this one, and I didn't want that. So I kept searching for adding borders and found this tutorial. Yep that's how I wanted to do it.
With just a few small changes.

I cut the binding off my quilt. WHAT? Yep, and this is my favorite quilt (which is why I wanted to make it bigger). This is the scary part. Don't worry you can always cut off more and rebind it! No really, keep going, it will be better soon! The old binding was far from straight. One, because it was washed and it shrunk, and two, because I did a terrible job way back then when I sewed my binding on. Happy to say that I am much better at that now!

I wanted to add 2 borders, a small one and a large one. For the first border follow the directions on the Quilting Twin blog. I cut the batting 1.5 inches wide and zig zagged my pieces to make it long enough.

I cut my brown fabric at 1.5 inches and sewed strips as long as the quilt. Then I layered it according to her picture. From the bottom up:
Backing Fabric - Right Side Up
Quilt - Right Side Up
Top Fabric - Wrong Side Up
Batting

I didn't use pins because the quilt was too big and I didn't want to get on the floor. I just adjusted as I went, sewing a scant quarter inch seam like I normally do when piecing.

I ironed the bottom first, then the top. Then I sewed along the outside edge (as close as possible) to hold the fabric in place. If you don't sew close to the edge, your seam will be seen in the next border. Do all 4 sides the same way.


Now for the outside border I cut the top at 5.5 inches, the batting at 6 in, and the back at 7 in. I wanted to quilt it and have some room for trimming. Don't sew the outside edge down on this border unless you can get it super smooth. Otherwise it will pucker when you go to quilt it. Yep, I sem ripped the whole length of one side!
For some reason I stopped taking pictures, sorry. But I loaded it on the long arm, meandered all the way around it on the outside border only. I didn't quilt the brown border because it was only 1 inch and I didn't stitch in the ditch either. Then I trimmed it and added the binding. After a wash and dry, I put it on my bed again. We slept under it last night and it was wonderful! No more fighting over the covers. Happy wife, happy husband!
Here is the before:
Here is the after:

Once you get going, it's not too bad a technique. I was terrified to start cutting my favorite quilt, but I am so glad that I did. I think it gave the quilt a nice finish too.
Linking with Sarah and

You were so brave...but the additional borders made a wonderful difference! Looks fantastic!
ReplyDeleteI agree that you were very brave to attempt this on your favorite quilt. Looks like it was planned this way from the beginning. Looks great. Congrats.
ReplyDeleteI don't think I'd have the nerve to try this especially on my favorite quilt. It really turned out great!
ReplyDeleteReally turned out beautiful. I love the finished look it gave the quilt.
ReplyDeleteWhat pattern is this? It is soo beautiful and the borders really pull it all together.
ReplyDeleteThank you! It started out as "On the Road to Spring Quilt a Long" by Randi at I Have to Say, but my husband and I didn't like how the white squares were weaving back and forth. He suggested moving things around a bit. So I put a long and a short together with a short and a long and made a block. Then they fit together like tiles. You have to do a lot of Y-seams to sew it together - there are no rows.
DeleteI think that this is so great! I absolutely love the added borders. Your room looks younger and so fun.
ReplyDeleteOh wow! The new borders really pop. And what a fantastic idea!
ReplyDeleteGreat job!
ReplyDeleteI have a tutorial on how to enlarge a quilt that is already quilted. You can find it here:
http://busyhandsquilts.blogspot.com/2011/01/tutorial-enlarging-quilt.html
Myra~
The method in your tutorial is not the method I used because I wanted to add 2 borders. I also didn't want to see the seam left by the top stitching that you did. It would show terribly on my quilt because I used a solid as one of my borders. Just wanted to clear that up!
DeleteThank you for this post! I've just made a quilt and I had to wash it before binding. Now it's too small so I was desperately looking for some way to enlarge it. I will do it just like you showed!
ReplyDeleteI know your post is a few years old, but I have been agonizing over the size of my first quilt, too! Same problem with a cover grabber, same fear of ruining my first (albeit flawed) finished quilt...and your post confirms my belief that It Can Be Done. I can't wait to do it. Thank you for sharing your experience!!
ReplyDeleteYour post lives on...and hopefully your quilt too! It looks very heirloom; and the border you added is fantastic! Love both the before and after.
ReplyDeleteSearching out info of how to make a throw size quilt just a little bigger all around and thinking borders and sashing may do the trick. Pretty sure now all it'll take is a border. Thanks for sharing!
did the same thing. I'm just about to make my quilt larger. I hope it turns out as good as yours.
ReplyDelete